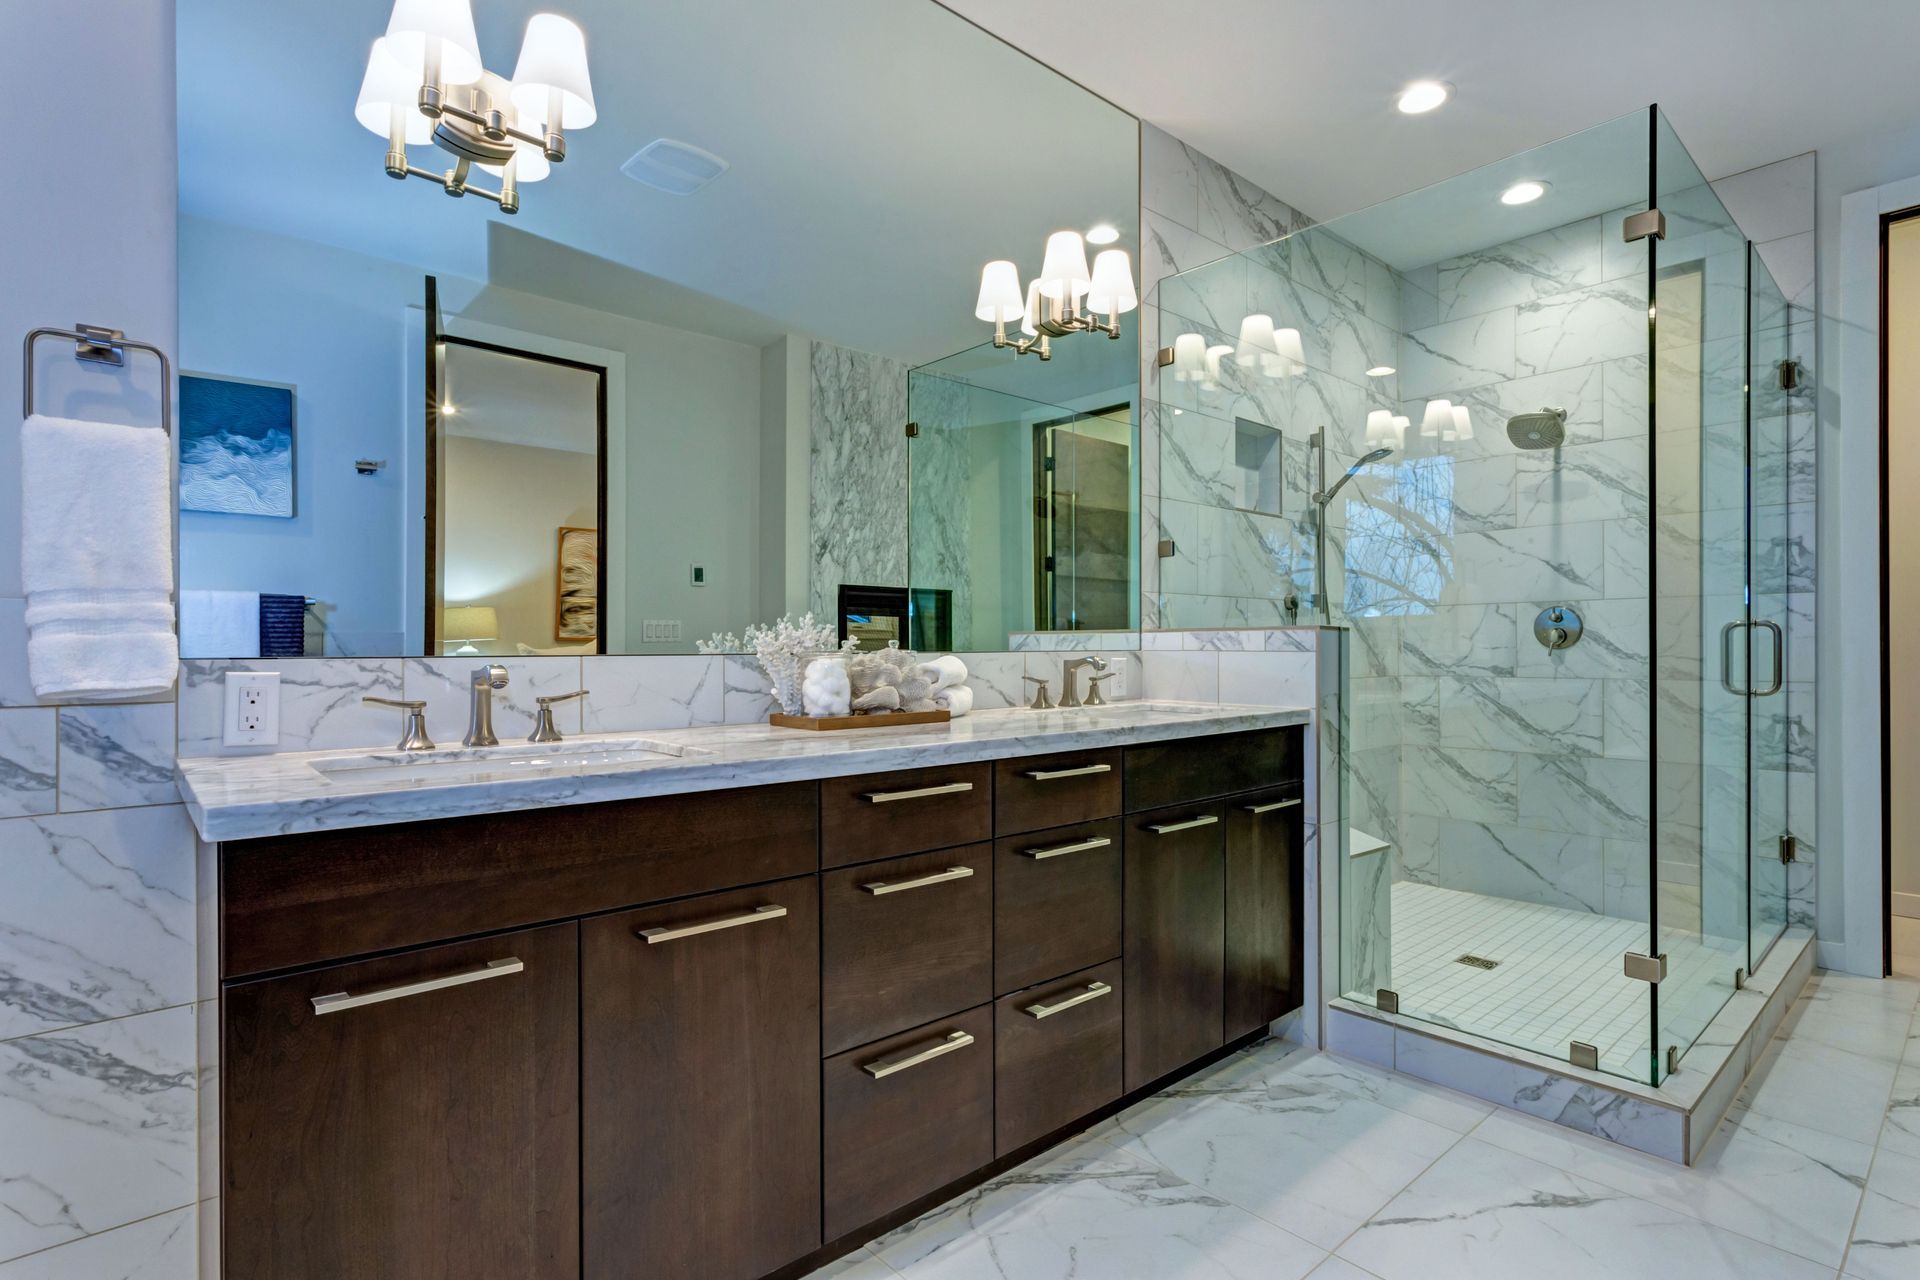
Plan your perfect oasis with top bathroom remodeling companies. Discover how professional design, spa trends, and smart budgeting protect your investment.

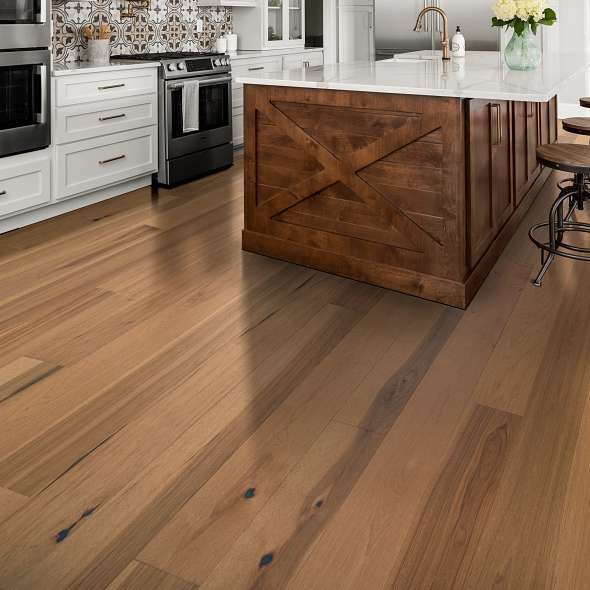
Bell County Flooring is your trusted partner for all your flooring and home improvement needs in Central Texas. Call a bathroom remodeler for more information.
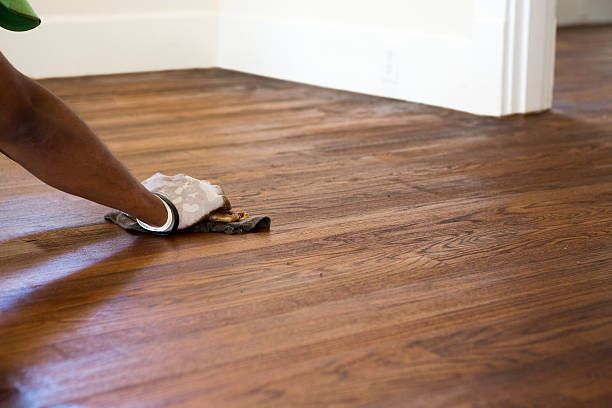
See how a bathroom remodeler upgrades outdated spaces with modern design, better function, and lasting value for improved comfort, style, and efficiency.